
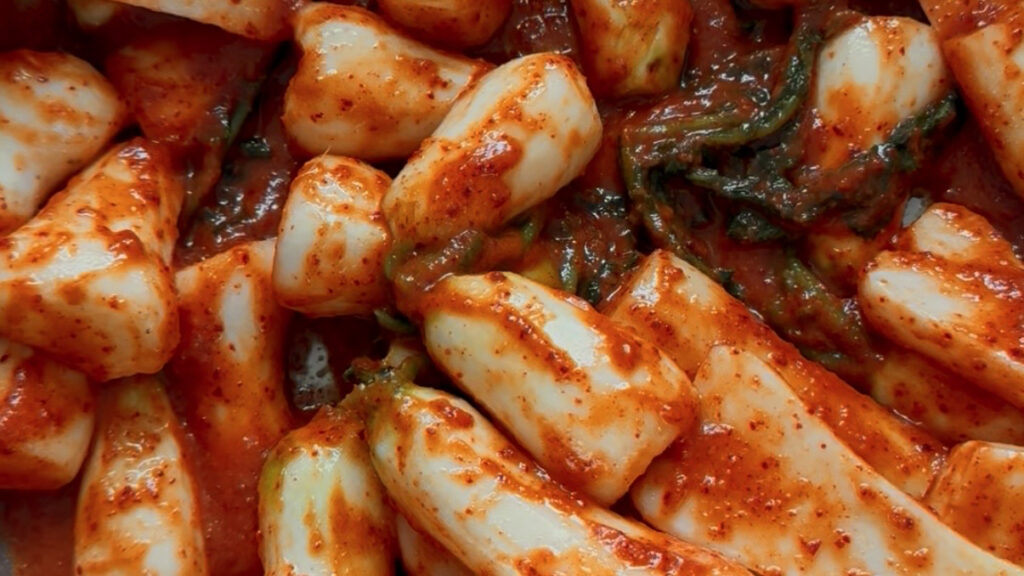
Sometimes, all I need is a bowl of warm rice, some Chonggak Kimchi, and a sheet of roasted seaweed. Honestly, I could easily eat two bowls of rice like that. I love the combination of warm rice, crunchy radish kimchi, and salty seaweed. It’s simple, but I never get tired of it.
I grew up eating kimchi with almost every Korean meal, so having a jar of kimchi in the refrigerator always felt normal to me. After moving away from Korea, I started making more Korean food at home, and I found myself making kimchi more often, too. When I want a quick meal that reminds me of home, I’m always glad to have kimchi in the fridge.
🥢 Why Chonggak Kimchi is My Favorite
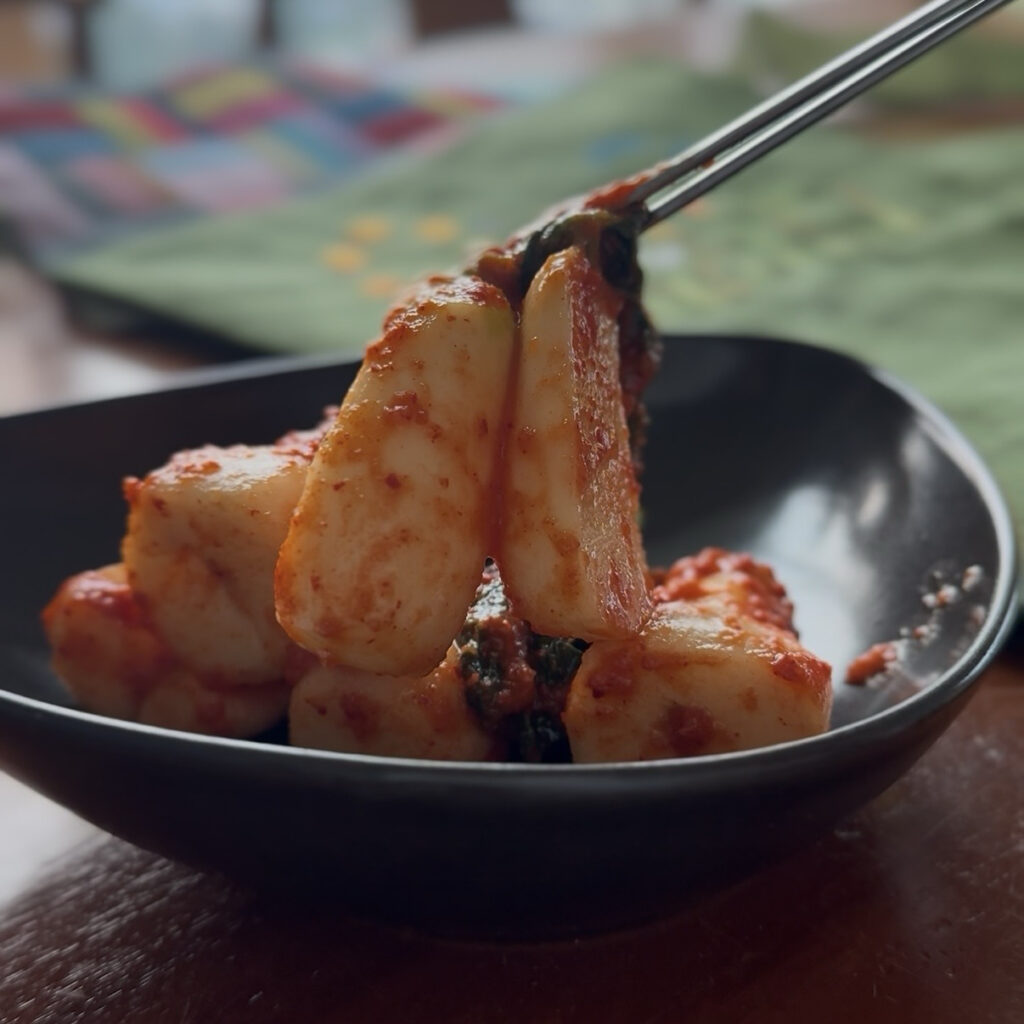
Of all the different kinds of kimchi, Chonggak Kimchi has always been one of my favorites. It’s made with young radishes, also called chonggak radishes. What I like most is the texture. The radish stays firm and crunchy even after it’s seasoned with the spicy, savory kimchi mixture. I especially like it when it’s still fairly fresh and has a nice crunch when you bite into it.
You don’t need a big meal to enjoy Chonggak Kimchi. A few pieces with warm rice and roasted seaweed are enough for me. I also like having it with grilled meat or alongside Korean soups and stews. Most of the time, I just eat it with whatever I already have in the fridge.
🍴 Making Kimchi Outside Korea
Living outside Korea has changed the way I cook Korean food. Ingredients that are easy to find in Korea aren’t always available where I live, so I’ve gotten used to working with what I can find locally. For this recipe, I wanted to keep the seasoning simple but still get the familiar flavor of Korean kimchi.
If you’ve never made kimchi at home, it can seem a little intimidating at first. But you really don’t need to make it complicated. Once you get the ingredients ready, the process is pretty straightforward.
Freshly made Chonggak Kimchi is crisp and spicy, while letting it ferment longer gives it a deeper, more sour flavor. I like both, so I don’t always wait for it to reach a certain point. Sometimes I eat it fresh, and sometimes I let it ferment a little longer.
If you live outside Korea and miss homemade kimchi, this is a good recipe to try. It’s also a simple one to start with if you’ve never made Chonggak Kimchi before.
Here’s how I make Easy Korean Chonggak Kimchi (Young Radish Kimchi) at home.
🛒Ingredients
For the Radish
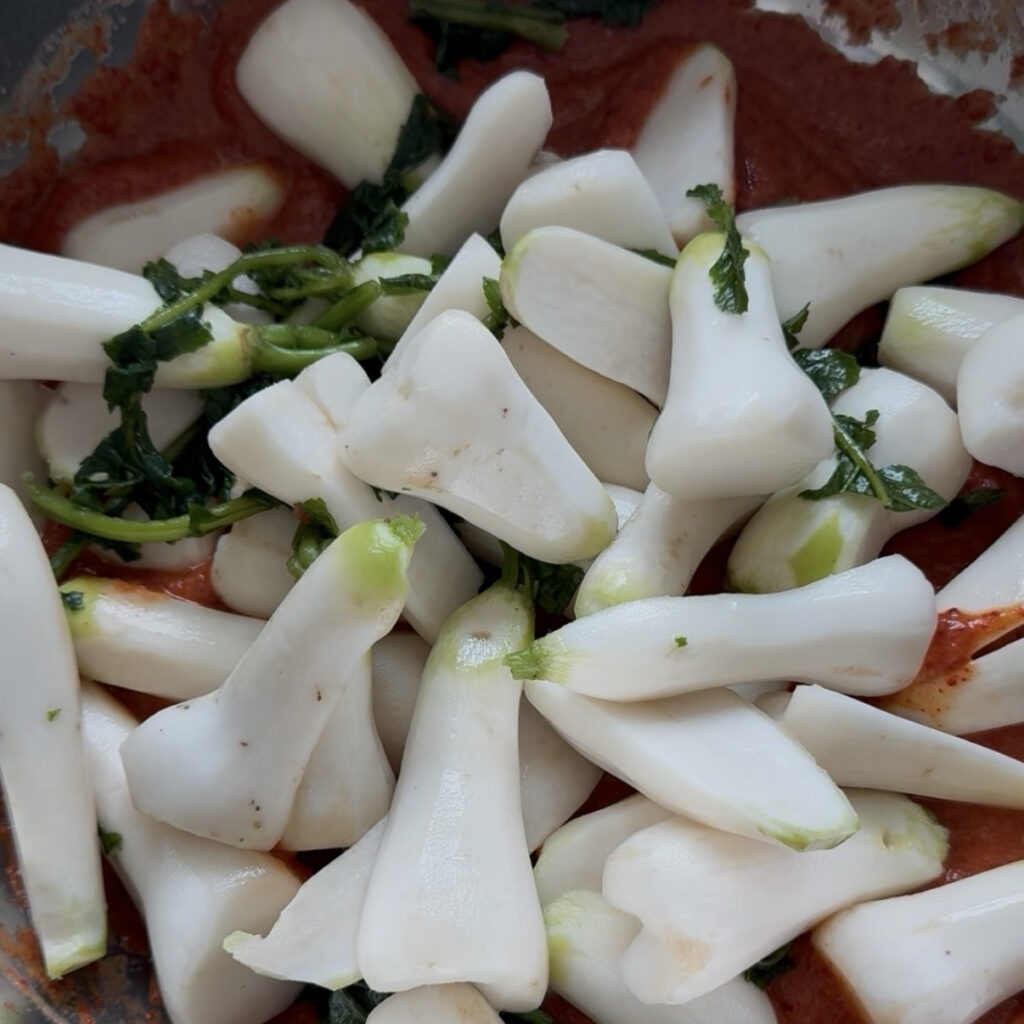
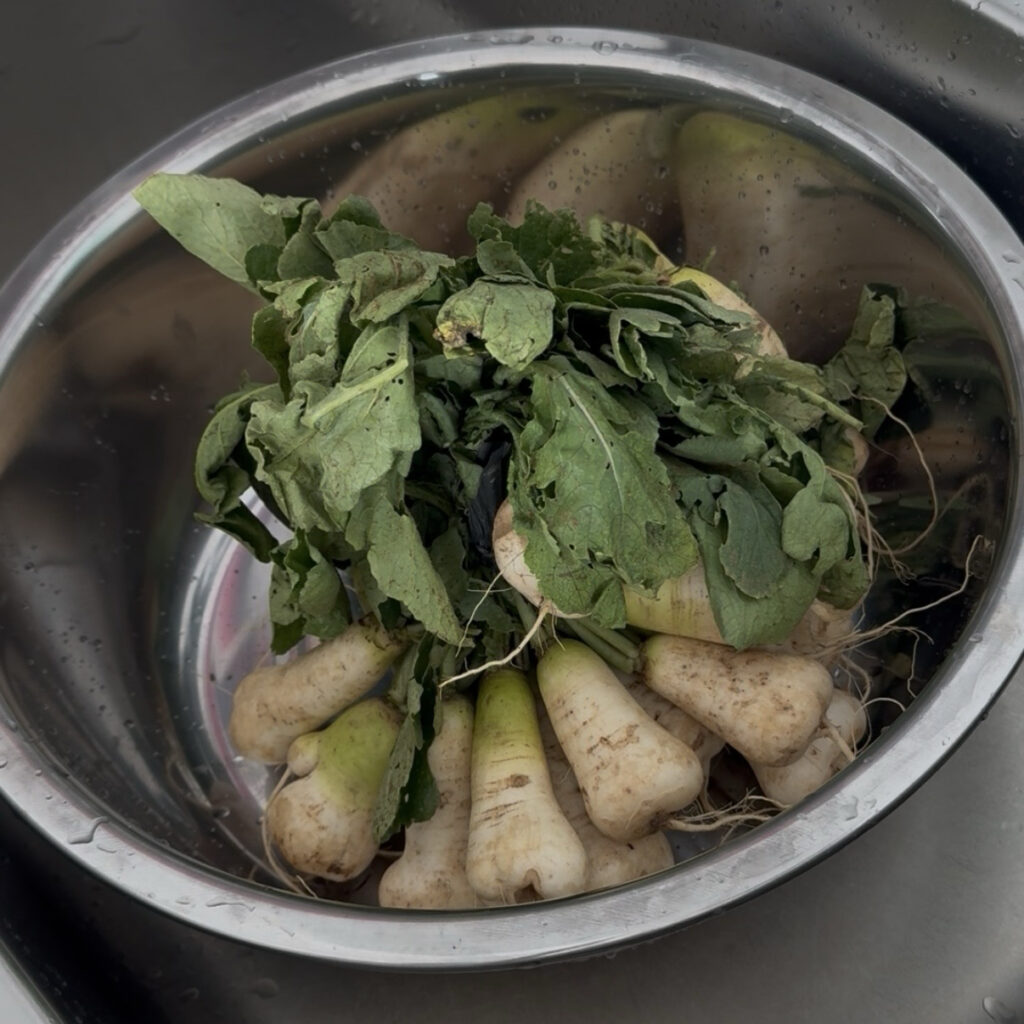
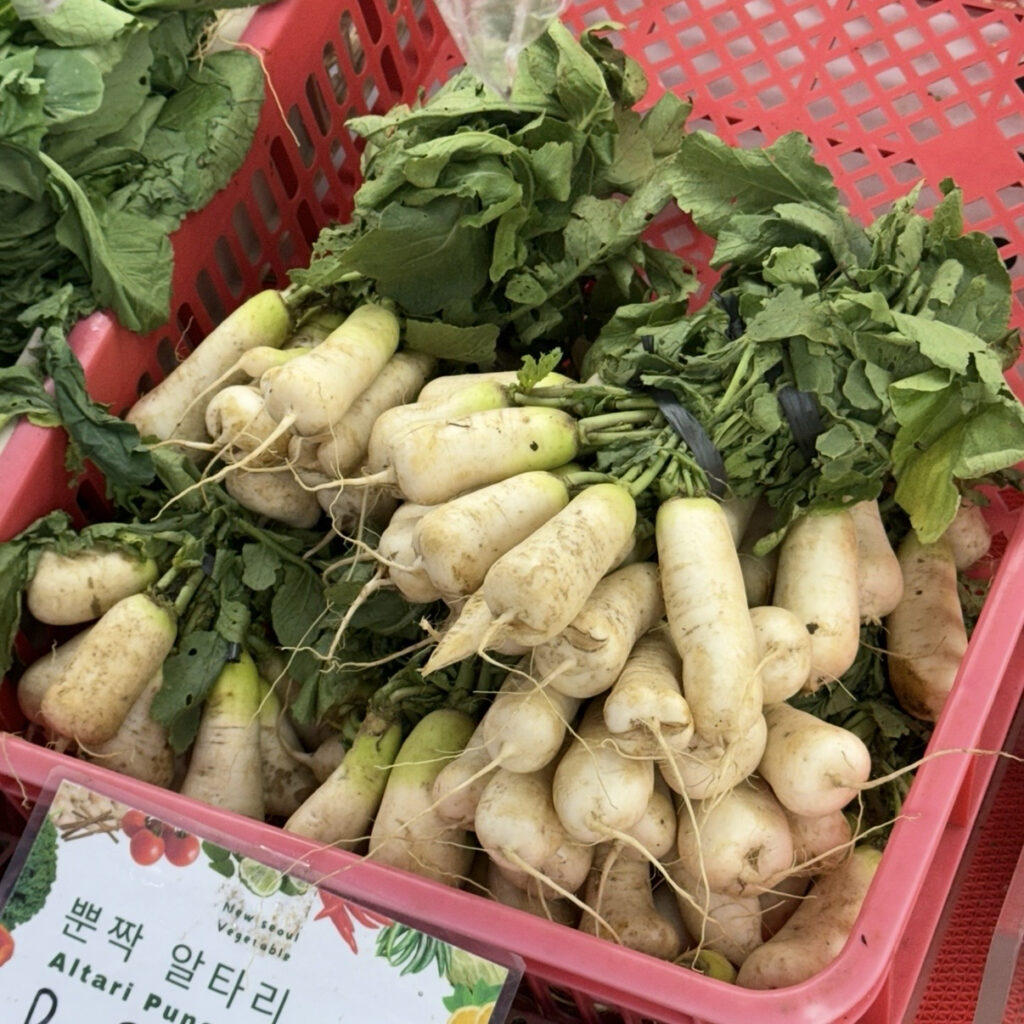
✓ 1.5 kg young radishes (chonggakmu) – trimmed and washed (about 1.2 kg after trimming)
✓ 600 ml water
✓ 50 g coarse salt
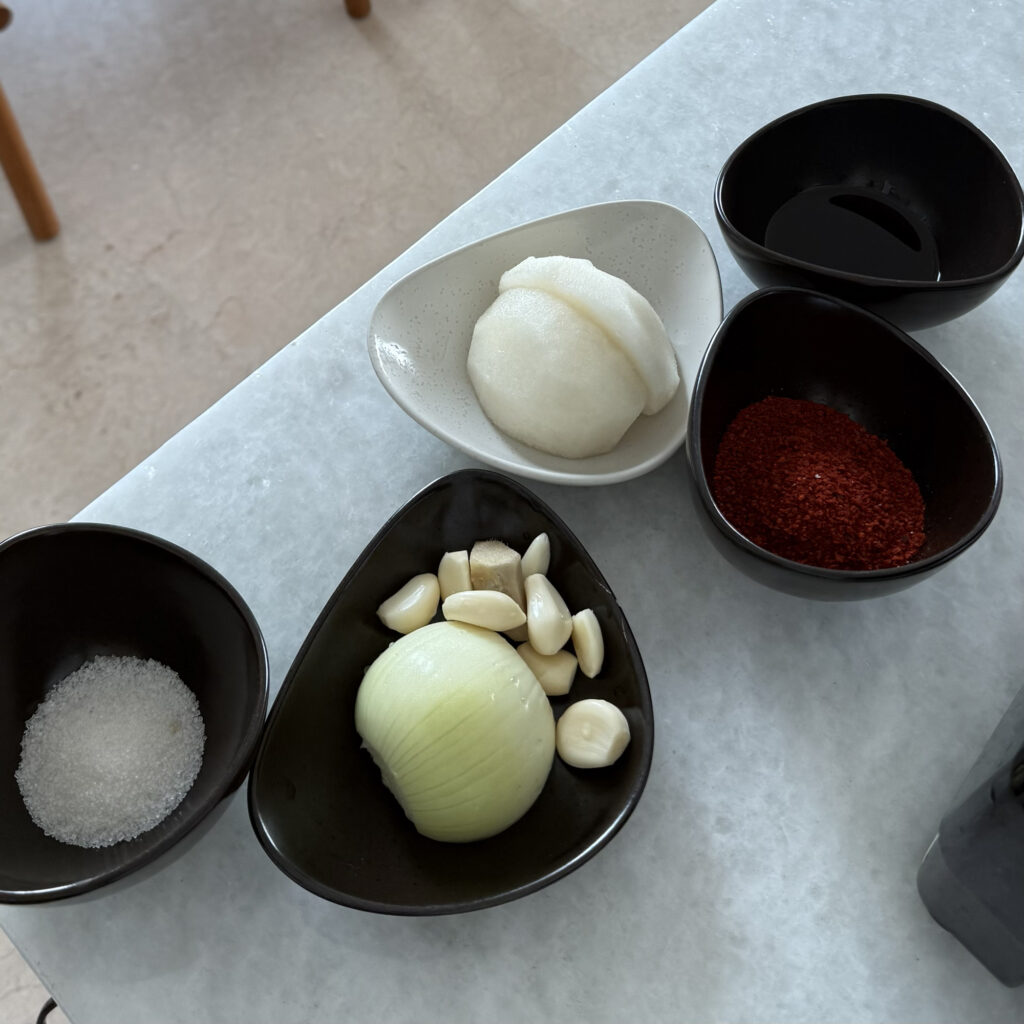
For the Kimchi Seasoning
✓ 35 g Korean red pepper flakes (gochugaru)
✓ 30 g Korean anchovy fish sauce (myeolchi-aekjeot)
✓ 20 g minced garlic
✓ 5 g minced ginger
✓ 15 g sugar
✓ 130 g Korean or Asian pear, peeled and cored
✓ 75 g onion
✓ 120 ml water
✓ 10 g all-purpose flour
🍳 How to Make Chonggak Kimchi
Step 1. Trim and Wash the Young Radishes
Start by trimming the young radishes. Cut off the thin roots at the bottom and remove any yellow or damaged leaves. I don’t like having too many greens, so I usually trim most of them off. You can leave more or less of the leaves, depending on what you like.
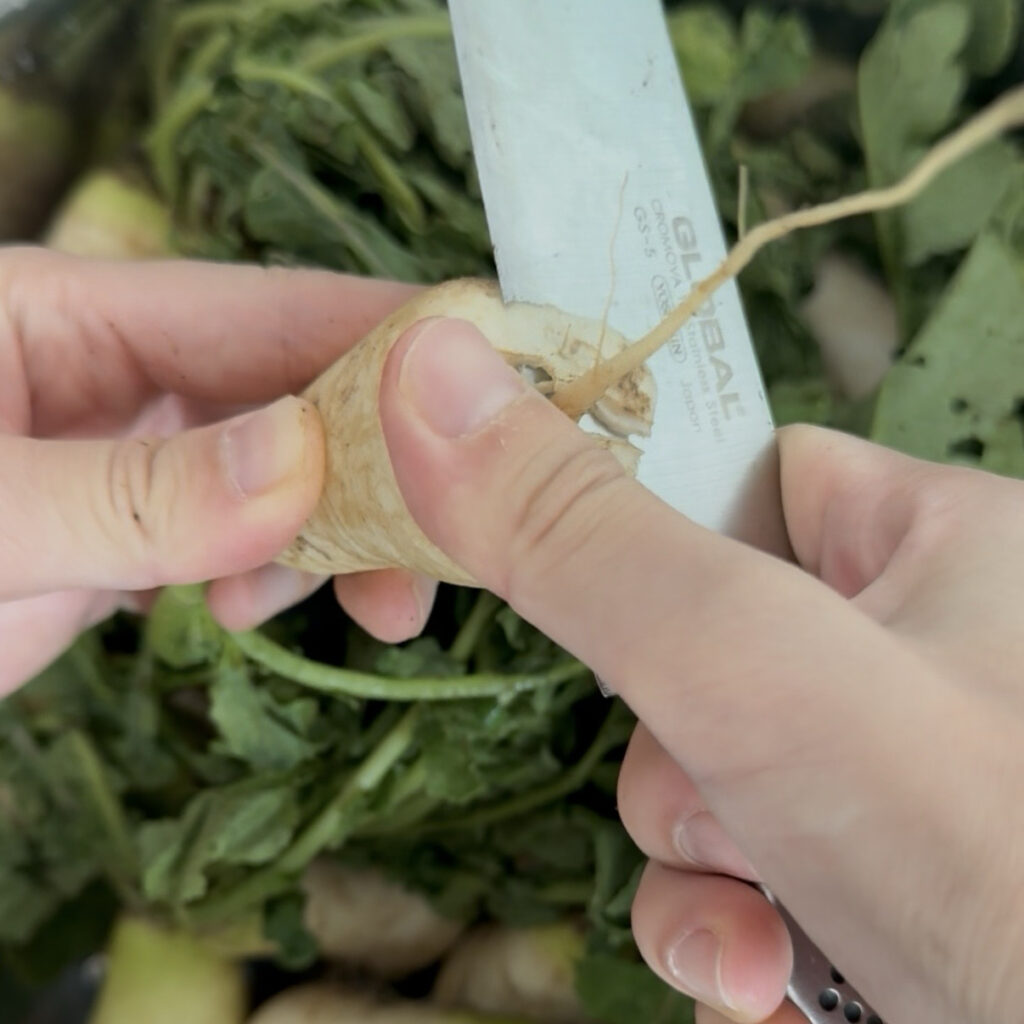
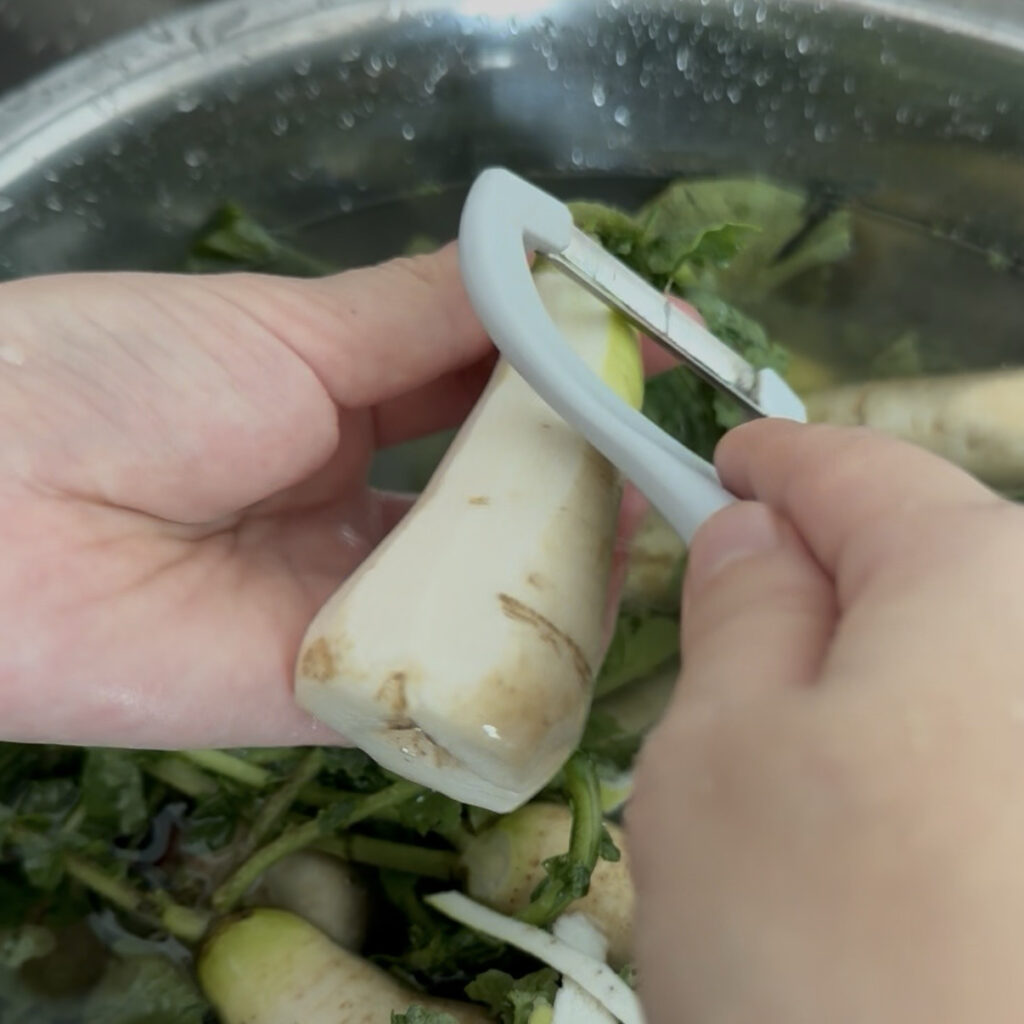
The radishes I used had quite a few rough spots and small marks on the skin, so I peeled them completely with a vegetable peeler. If your radishes look clean and smooth, you don’t need to peel them all the way. Just remove any dirt or rough spots.
If the radishes are very thick, cut them in half lengthwise. Smaller ones can be left whole.
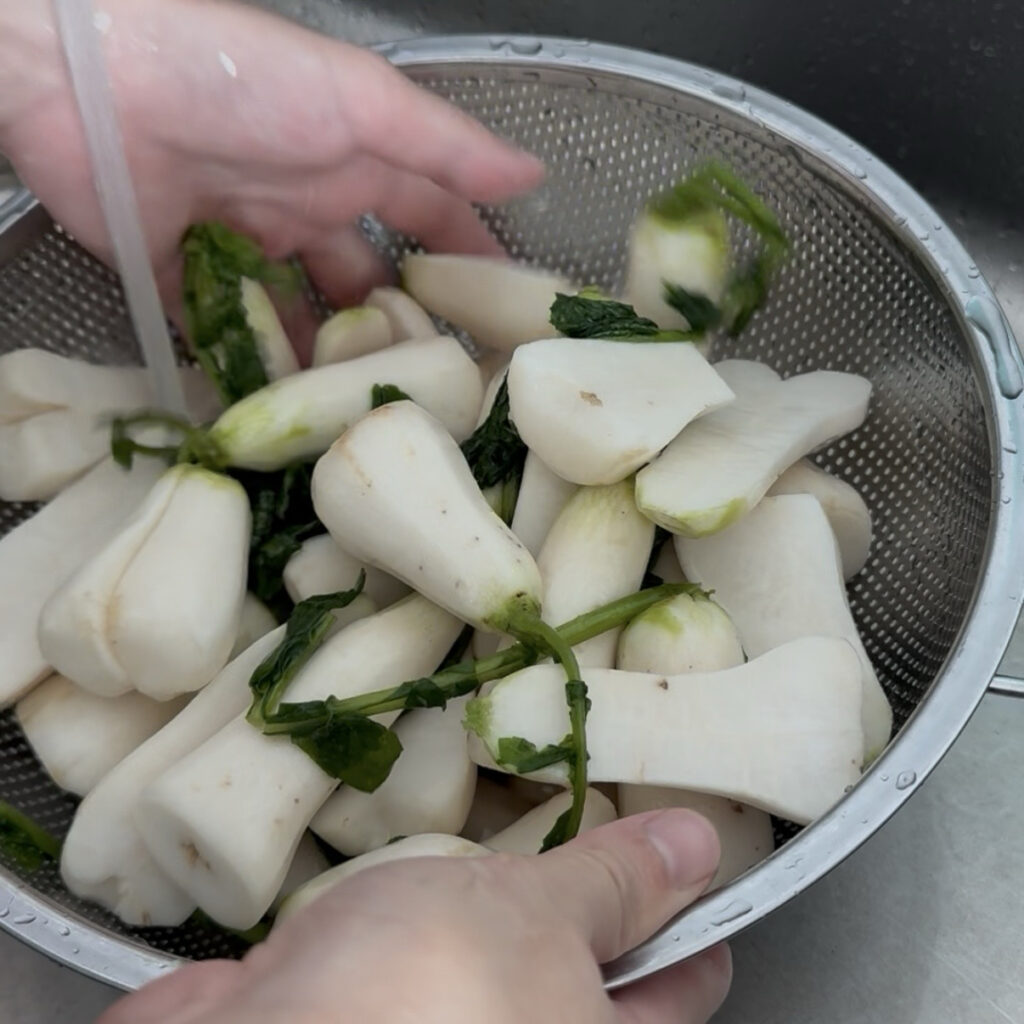
Wash the radishes well under running water, especially between the leaves and around the roots. Drain well before salting.
Step 2. Salt the Radishes
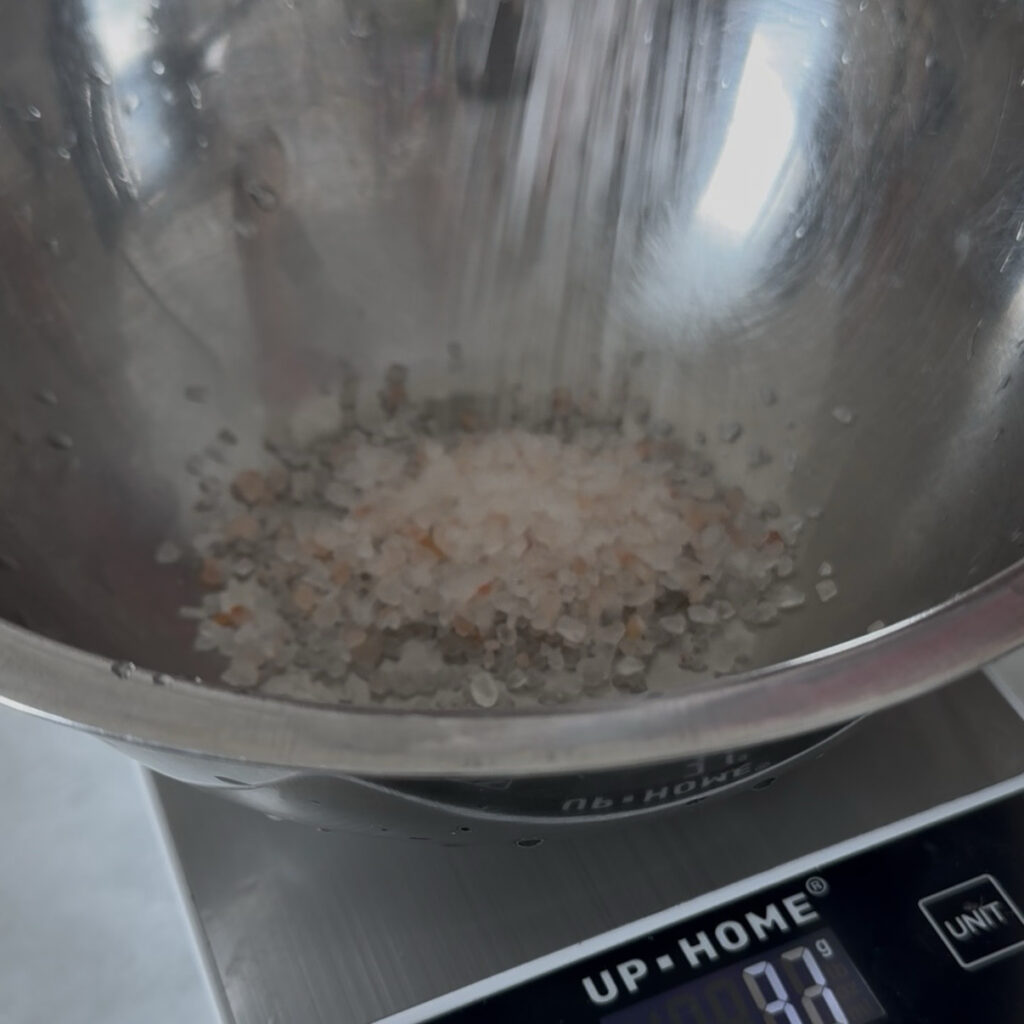
In a large bowl, mix 600 ml water and 50 g coarse salt until the salt is mostly dissolved. Add the prepared radishes and make sure they are evenly covered with the brine.
Let the radishes sit until they become slightly flexible but still have some firmness when you bend them. They shouldn’t feel completely soft or limp.
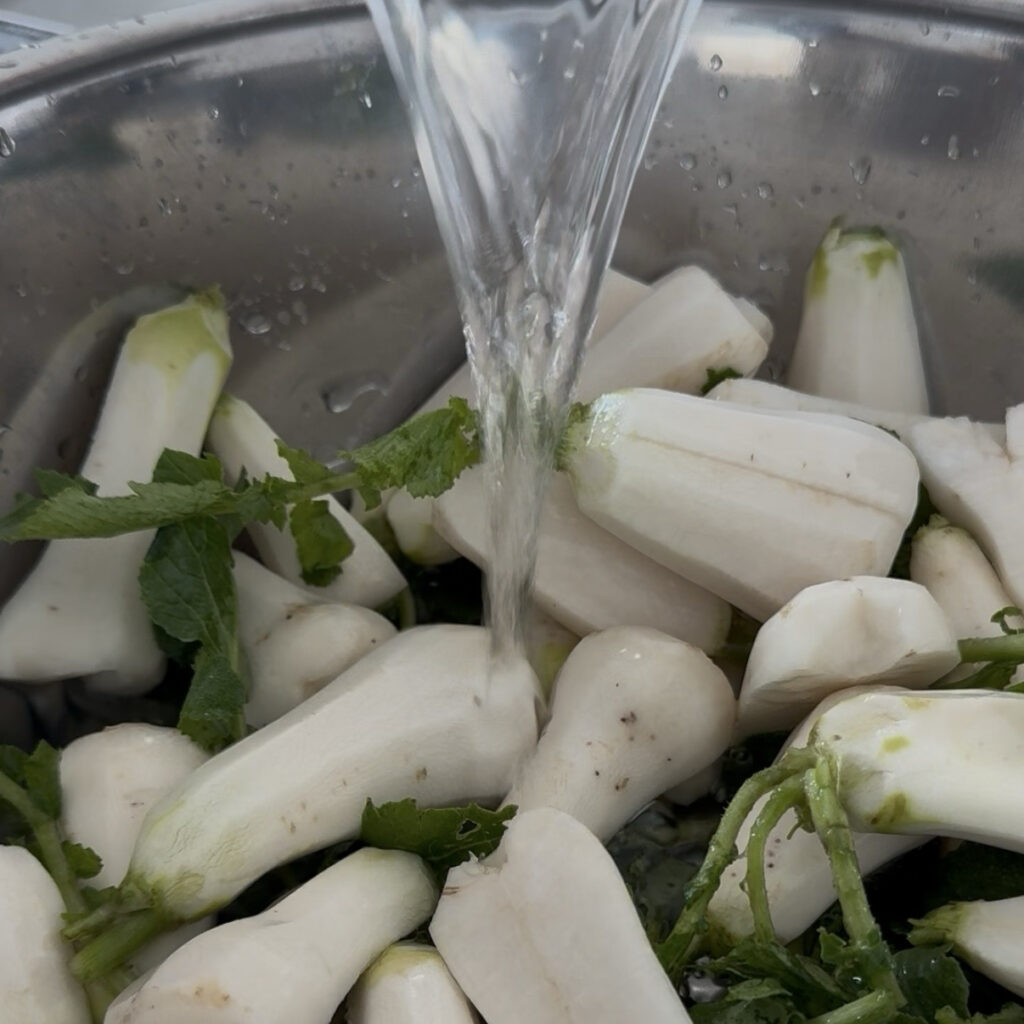
Once the radishes are properly salted, rinse them gently 2–3 times with clean water and drain well.
Step 3. Make the Flour Paste
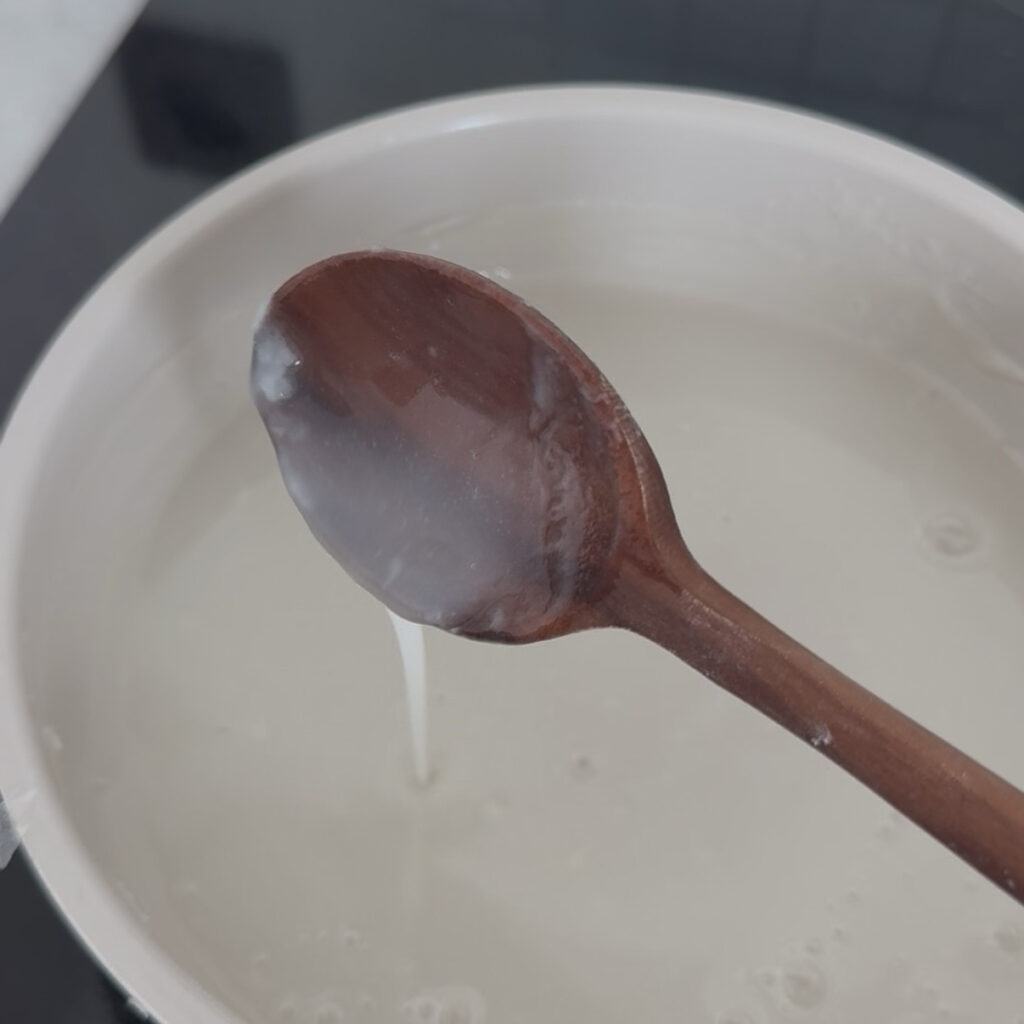
Combine 120 ml water and 10 g all-purpose flour in a small saucepan and whisk until smooth. Cook over low heat, stirring constantly, until the mixture is slightly thickened and has just a little bit of stickiness.
This usually takes a few minutes, but the exact time can vary depending on your heat. The flour paste should still be thin enough to flow easily when you lift the spoon—it shouldn’t be thick or gummy.
The flour paste helps the kimchi seasoning cling to the radishes and gives the seasoning a smoother consistency.
Remove from the heat and let it cool completely before using.
step 4. Make the Seasoning
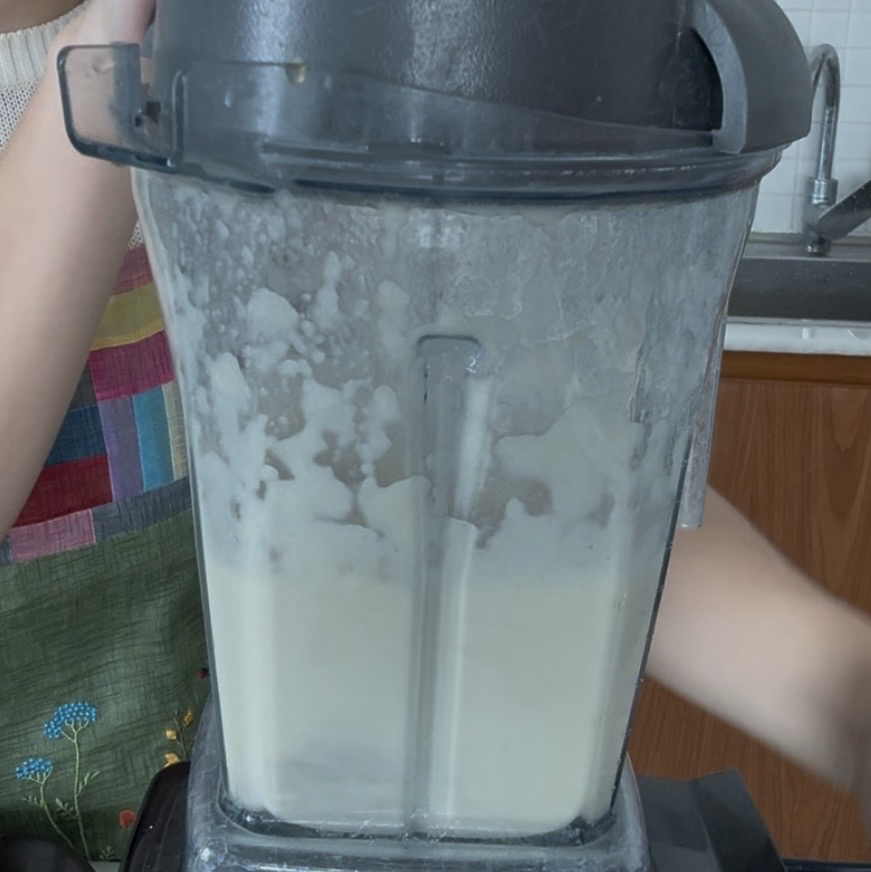
Add the pear, onion, garlic, ginger, anchovy fish sauce, and sugar to a blender and blend until smooth. I added the pear and onion whole, but if they don’t blend easily, cut them into smaller pieces and blend again.
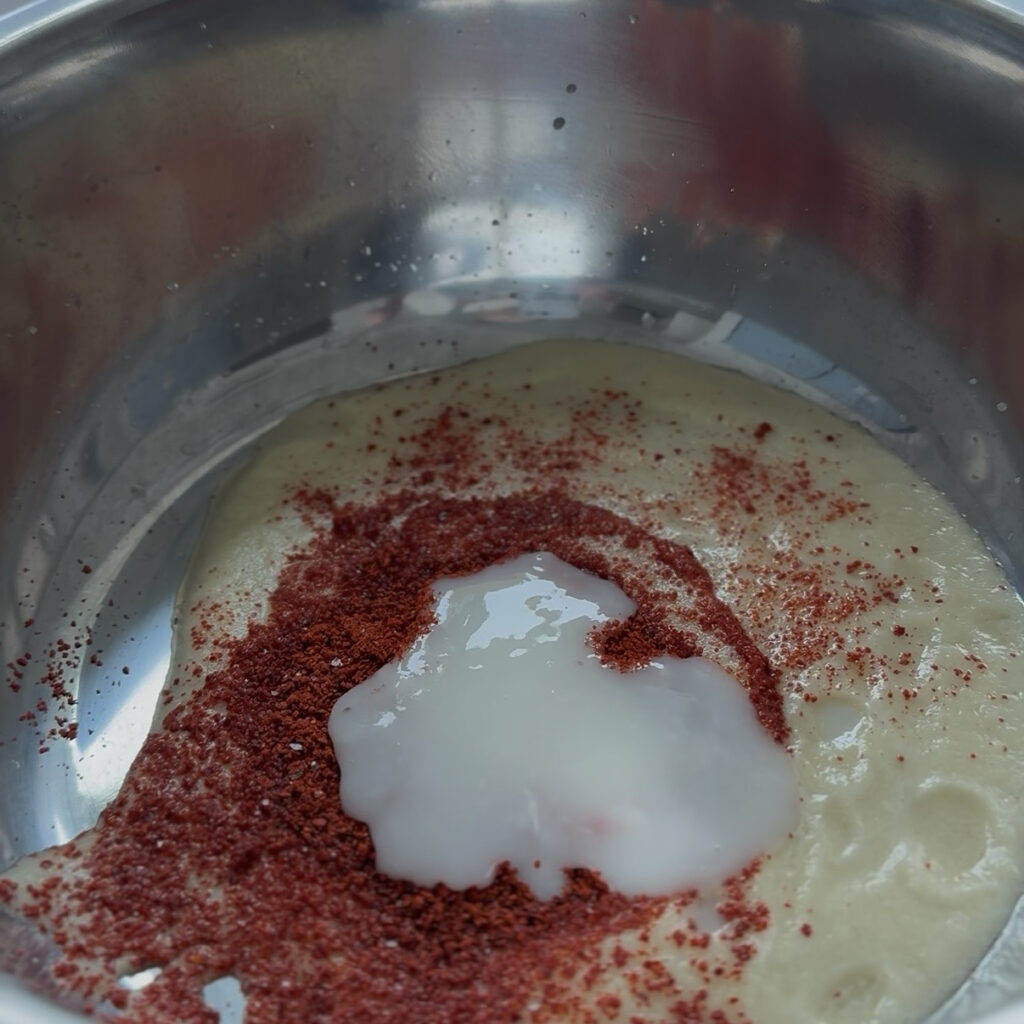
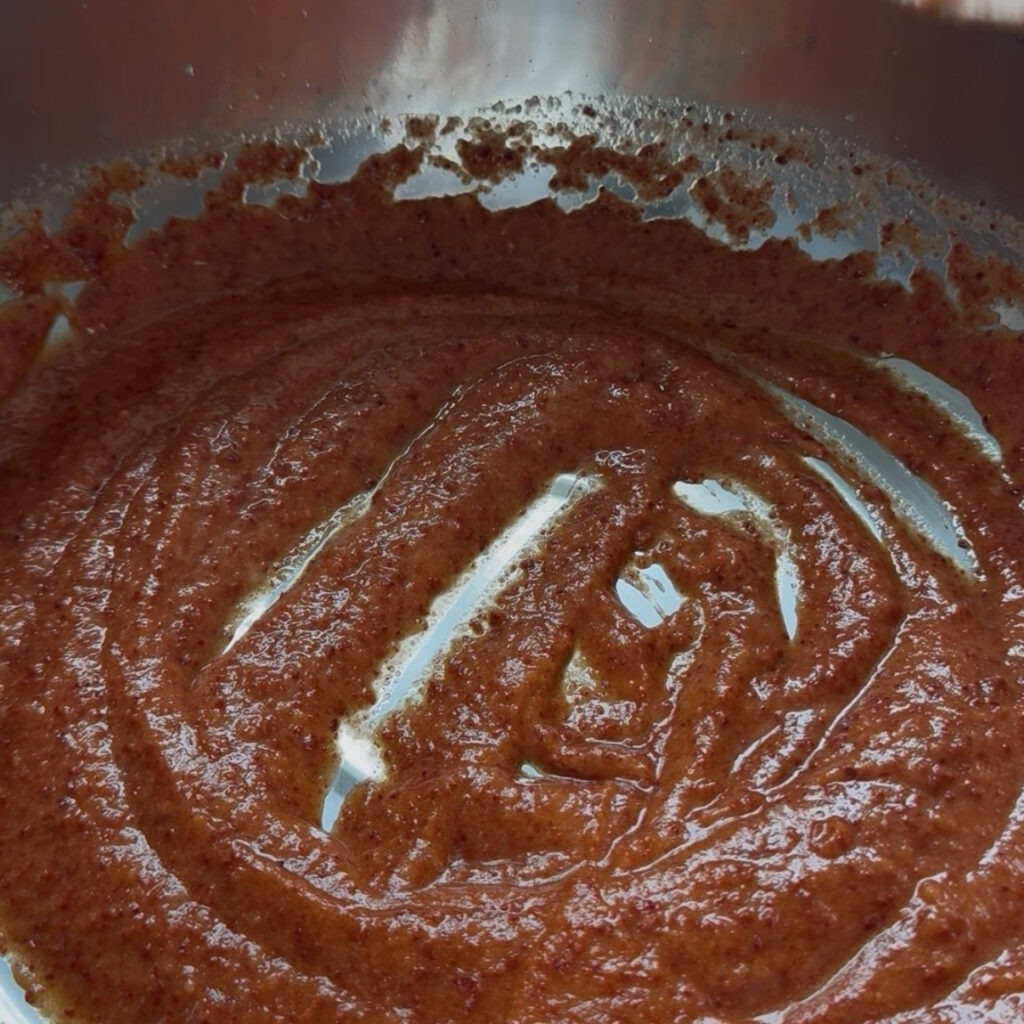
Pour the blended mixture into a large bowl. Add the gochugaru and cooled flour paste, then mix well until everything is evenly combined.
I add the gochugaru and flour paste after blending because the seasoning is easier to mix and the consistency is easier to adjust this way. There’s no need to blend them together.
step 5. Season the Radishes
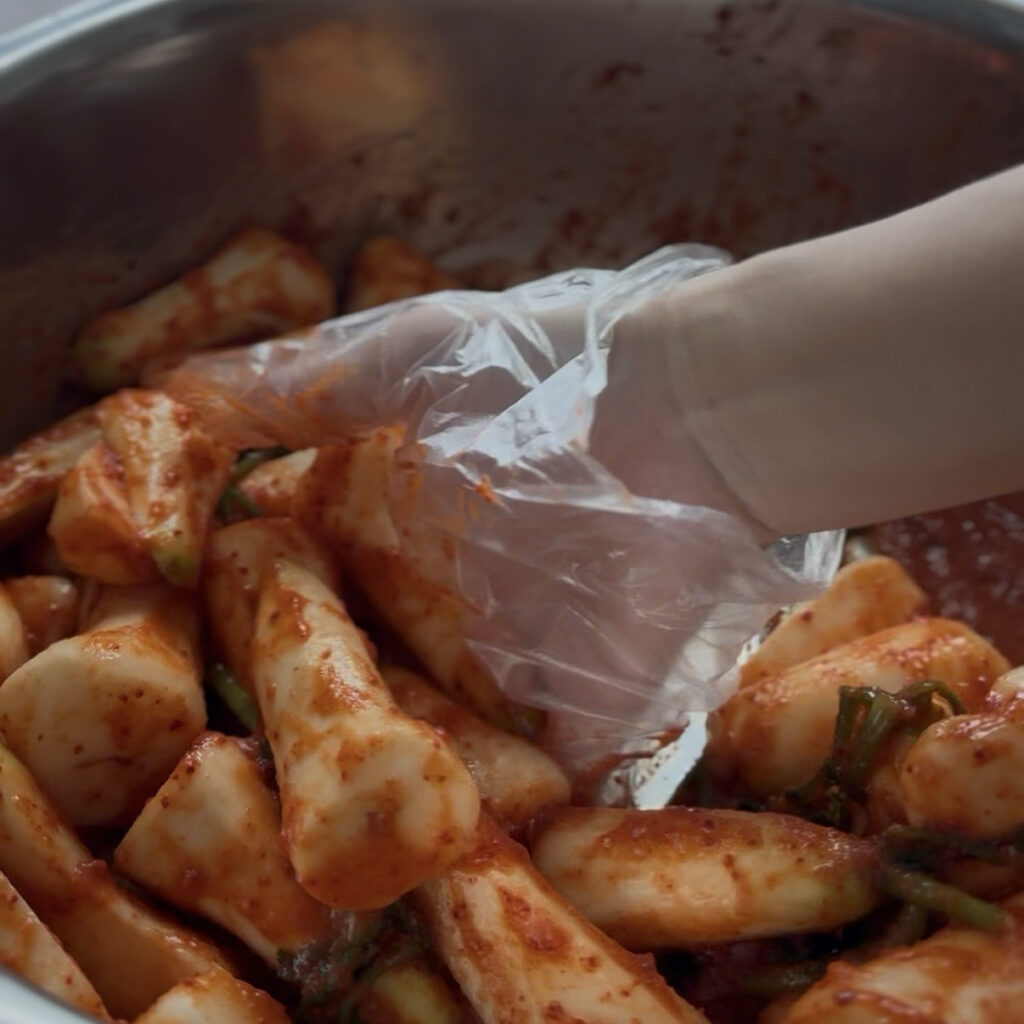
Add the well-drained radishes to the seasoning. Gently toss and massage the radishes with your hands until the seasoning evenly coats every piece.
Be careful not to squeeze or crush the radishes too much. You want to keep their natural crunch and shape.
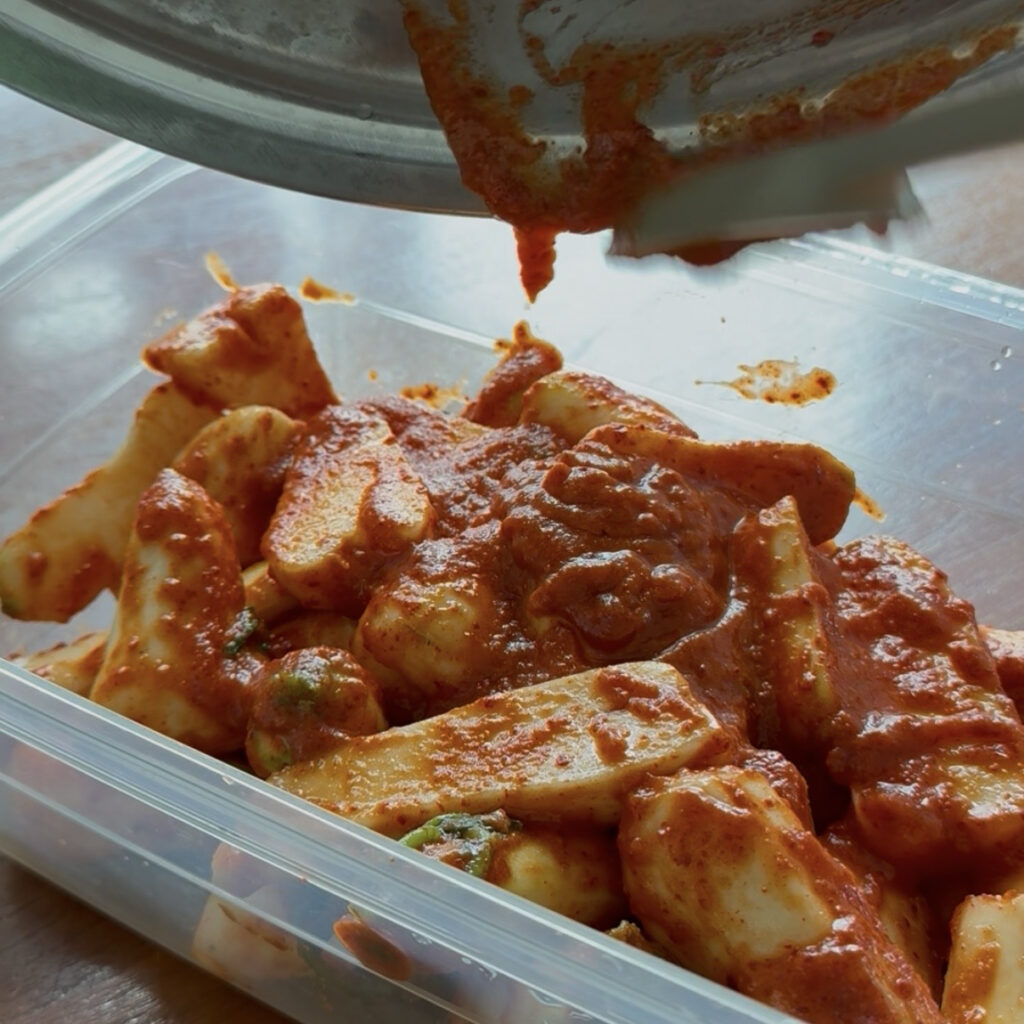
Once everything is evenly coated, transfer the kimchi to a clean airtight container and press it down gently to remove any large air pockets.
Step 6. Ferment and Store
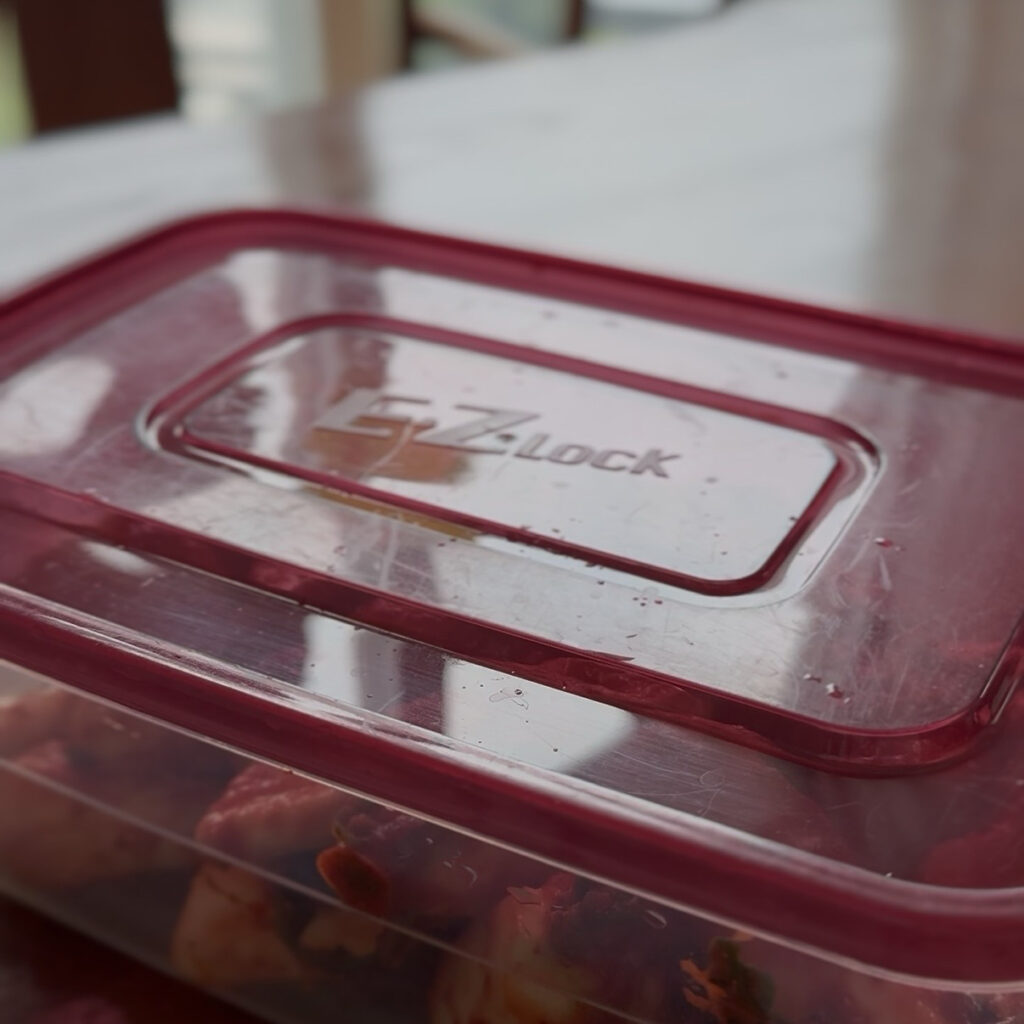
Transfer the kimchi to a clean airtight container and press it down gently to remove any large air pockets.
Leave it at room temperature for 6–12 hours, depending on the temperature of your kitchen. Once you notice a slightly tangy smell and a little liquid forming around the kimchi, move it to the refrigerator.
The kimchi will continue to ferment slowly in the refrigerator, and the flavor will become deeper and more tangy over time. You can start eating it right away, but I personally like it even more after it has had a little time to develop in the fridge.
🍽️ Serving Tips
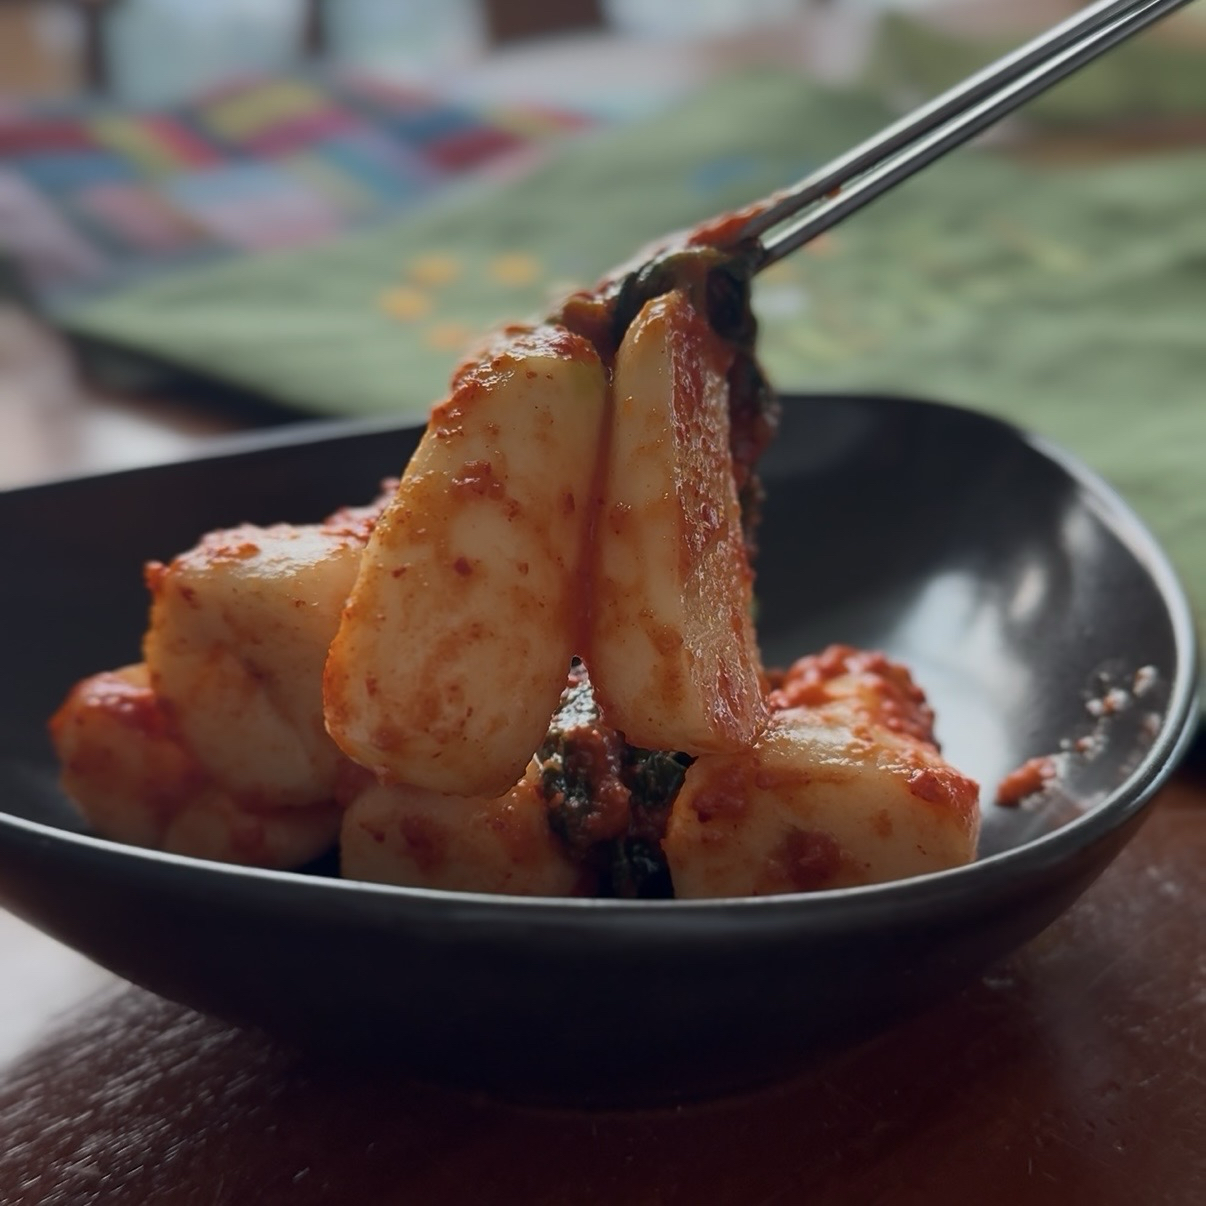
Chonggak Kimchi is one of those side dishes that can make a simple meal feel complete. My favorite way to eat it is probably the simplest: warm rice, Chonggak Kimchi, and roasted seaweed. Give me that combination and I can easily eat two bowls of rice.
It’s also really good with Korean grilled meat, soups, and stews. The crunchy radish and slightly sour flavor go especially well with richer dishes.
After fermenting the kimchi at room temperature, I move it to the refrigerator. I like it when the radish is still crunchy and the seasoning has a little sourness to it. The kimchi will keep fermenting in the refrigerator, so the flavor gets more sour as time goes on. For me, it tastes best before it gets too sour.
If you’re using a regular refrigerator instead of a kimchi refrigerator, keep in mind that the kimchi can still ferment and become sour over time. Keep it well refrigerated and always use clean utensils when taking some out. I also like to use a container that fits the amount of kimchi, rather than one that is much bigger. It makes storing the kimchi a little easier as you eat it.
I personally like Chonggak Kimchi while it’s still crunchy, so I usually enjoy it before it gets too sour. But if you prefer a more fermented, tangy flavor, you can let it develop a little longer in the refrigerator.
While my guide on [How Long Does Kimchi Last?] focuses on napa cabbage kimchi, the same general fermentation and storage principles also apply to Chonggak Kimchi. If you’re curious about how kimchi changes as it ferments and how to tell if it’s still good to eat, you can check out that guide too.
❓ FAQ
Q. What is Chonggak Kimchi?
A. Chonggak Kimchi is a Korean kimchi made with small young radishes, also called chonggakmu. The radishes are kept relatively whole, which gives this kimchi its signature crunchy texture.
Q. Can I eat Chonggak Kimchi right away?
A. Yes! You can eat it as soon as you finish making it. It will have a fresh, crunchy flavor. As it ferments, the flavor becomes deeper and more tangy.
Q. Why did my Chonggak Kimchi turn out too salty?
A. The radishes can absorb quite a bit of salt during the salting process. If they still taste very salty after rinsing, you can soak them briefly in clean water and drain them well before adding the seasoning. It’s also a good idea to taste a piece of radish before adding the seasoning so you can adjust the seasoning if needed.
Q. How long does Chonggak Kimchi last?
A. There’s no exact number of days for Chonggak Kimchi because it continues to ferment in the refrigerator. If you prefer a fresh, crunchy flavor, I recommend enjoying it earlier. As it ferments, the radishes will gradually become softer and the flavor will become more tangy.
If you’re using a regular refrigerator, keep an eye on the kimchi as it ages. Check the smell, texture, and appearance before eating, especially if it has been stored for a while.
Q. Why Does My Radish Taste Too Pungent?
A. Young radishes can sometimes have a naturally sharp or peppery flavor. This can be more noticeable with radishes grown during hot weather.
The flavor usually becomes milder as the kimchi ferments. If your radishes taste particularly sharp after salting, rinse them well and taste a piece before adding the seasoning. If needed, you can soak them briefly in clean water to mellow the flavor a little.
👉👉 You Might Also Like
🇰🇷 First time cooking Korean food?
👉 8 Essential Korean Ingredients Every Beginner Needs
👉 Korean Soy Sauce Explained: Jin Ganjang vs Guk Ganjang
👉 Gochujang vs. Gochugaru: What’s the Difference?

Easy Korean Chonggak Kimchi (Young Radish Kimchi)
Ingredients
Method
- Trim and wash the radishes.
- Mix water and salt. Add the radishes and let them sit until slightly flexible but still firm. Rinse 2–3 times and drain.
- Mix water and flour. Cook over low heat until slightly thickened. Cool completely.
- Blend pear, onion, garlic, ginger, anchovy fish sauce, and sugar. Mix with gochugaru and the cooled flour paste.
- Add the radishes and gently toss until evenly coated.
- Leave at room temperature for 6–12 hours, then refrigerate.

Hi, I’m Vella, a Korean home cook sharing easy Korean recipes for everyday cooking. I focus on simple recipes, practical tips, and ingredients that are easy to find outside Korea.